Getting Started
There are multiple ways to deploy Lakekeeper. Our self-contained examples are the easiest way to get started and deploy everything you need (including S3, Query Engines, Jupyter, ...). By default, compute outside of the docker network cannot access the example Warehouses due to docker networking.
If you have your own Storage (e.g. S3) available, you can deploy Lakekeeper using docker compose, deploy on Kubernetes, deploy the pre-build Binary directly or compile Lakekeeper yourself.
Lakekeeper is currently compatible with Postgres >= 15.
Deployment
Option 1: 🐳 Examples
Note
Our docker compose examples are not designed to be used with compute outside of the docker network (e.g. external Spark).
All docker compose examples come with batteries included (Identity Provider, Storage (S3), Query Engines, Jupyter) but are not accessible (by default) for compute outside of the docker network. To use Lakekeeper with external tools outside of the docker network, please check Option 2: Docker Compose
The advanced examples contains multiple query engines, including query engines that are shared between users while still enforcing single-user permissions.
The simple access control example contains multiple query engines, each used by a single user.
Then open your browser and head to localhost:8888 to load the example Jupyter notebooks or head to localhost:8181 for the Lakekeeper UI.
Option 2: 🐳 Docker Compose
For a Docker-Compose deployment that is used with external object storage, and external Identity Providers, you can use the docker-compose Setup. Please also check the Examples and our User Guides for additional information on customization.
While you can start the "🐳 Unsecured" variant without any external dependencies, you will need at least an external object store (S3, ADLS, GCS) to create a Warehouse.
Please follow the Authentication Guide to prepare your Identity Provider. Additional environment variables might be required.
git clone https://github.com/lakekeeper/lakekeeper
cd lakekeeper/docker-compose
export LAKEKEEPER__OPENID_PROVIDER_URI=... (required)
export LAKEKEEPER__OPENID_AUDIENCE=... (recommended)
export LAKEKEEPER__UI__OPENID_CLIENT_ID=... (required if UI is used)
export LAKEKEEPER__UI__OPENID_SCOPE=... (typically required if UI is used)
docker compose -f docker-compose.yaml -f openfga-overlay.yaml up
Option 3: ☸️ Kubernetes
We recommend deploying the catalog on Kubernetes using our Helm Chart. Please check the Helm Chart's documentation for possible values. To enable Authentication and Authorization, an external identity provider is required.
A community driven Kubernetes Operator is currently in development.
Option 4: ⚙️ Binary
For single node deployments, you can also download the Binary for your architecture from GitHub Releases. A basic configuration via environment variables would look like this:
export LAKEKEEPER__PG_DATABASE_URL_READ="postgres://postgres_user:postgres_urlencoded_password@hostname:5432/catalog_database"
export LAKEKEEPER__PG_DATABASE_URL_WRITE="postgres://postgres_user:postgres_urlencoded_password@hostname:5432/catalog_database"
export LAKEKEEPER__PG_ENCRYPTION_KEY="MySecretEncryptionKeyThatIBetterNotLoose"

./lakekeeper migrate
./lakekeeper serve
To expose Lakekeeper behind a reverse proxy, most deployments also set:
The default LAKEKEEPER__BASE_URI is http://localhost:8181.
Option 5: 👨💻 Build from Sources
To customize Lakekeeper, for example to connect to your own Authorization system, you might want to build the binary yourself. Please check the Developer Guide for more information.
First Steps
Now that the catalog is up-and-running, the following endpoints are available:
<LAKEKEEPER__BASE_URI>/ui/- the UI - by default: http://localhost:8181/ui/<LAKEKEEPER__BASE_URI>/catalogis the Iceberg REST API<LAKEKEEPER__BASE_URI>/managementcontains the management API<LAKEKEEPER__BASE_URI>/lakekeeperis the Data API (e.g. generic, non-Iceberg tables)<LAKEKEEPER__BASE_URI>/swagger-uihosts Swagger to inspect the API specifications
Bootstrapping
Our self-contained docker compose examples are already bootstrapped and require no further actions.
After the initial deployment, Lakekeeper needs to be bootstrapped. This can be done via the UI or the bootstrap endpoint. Among others, bootstrapping sets the initial administrator of Lakekeeper and creates the first project. Please find more information on bootstrapping in the Bootstrap Docs.
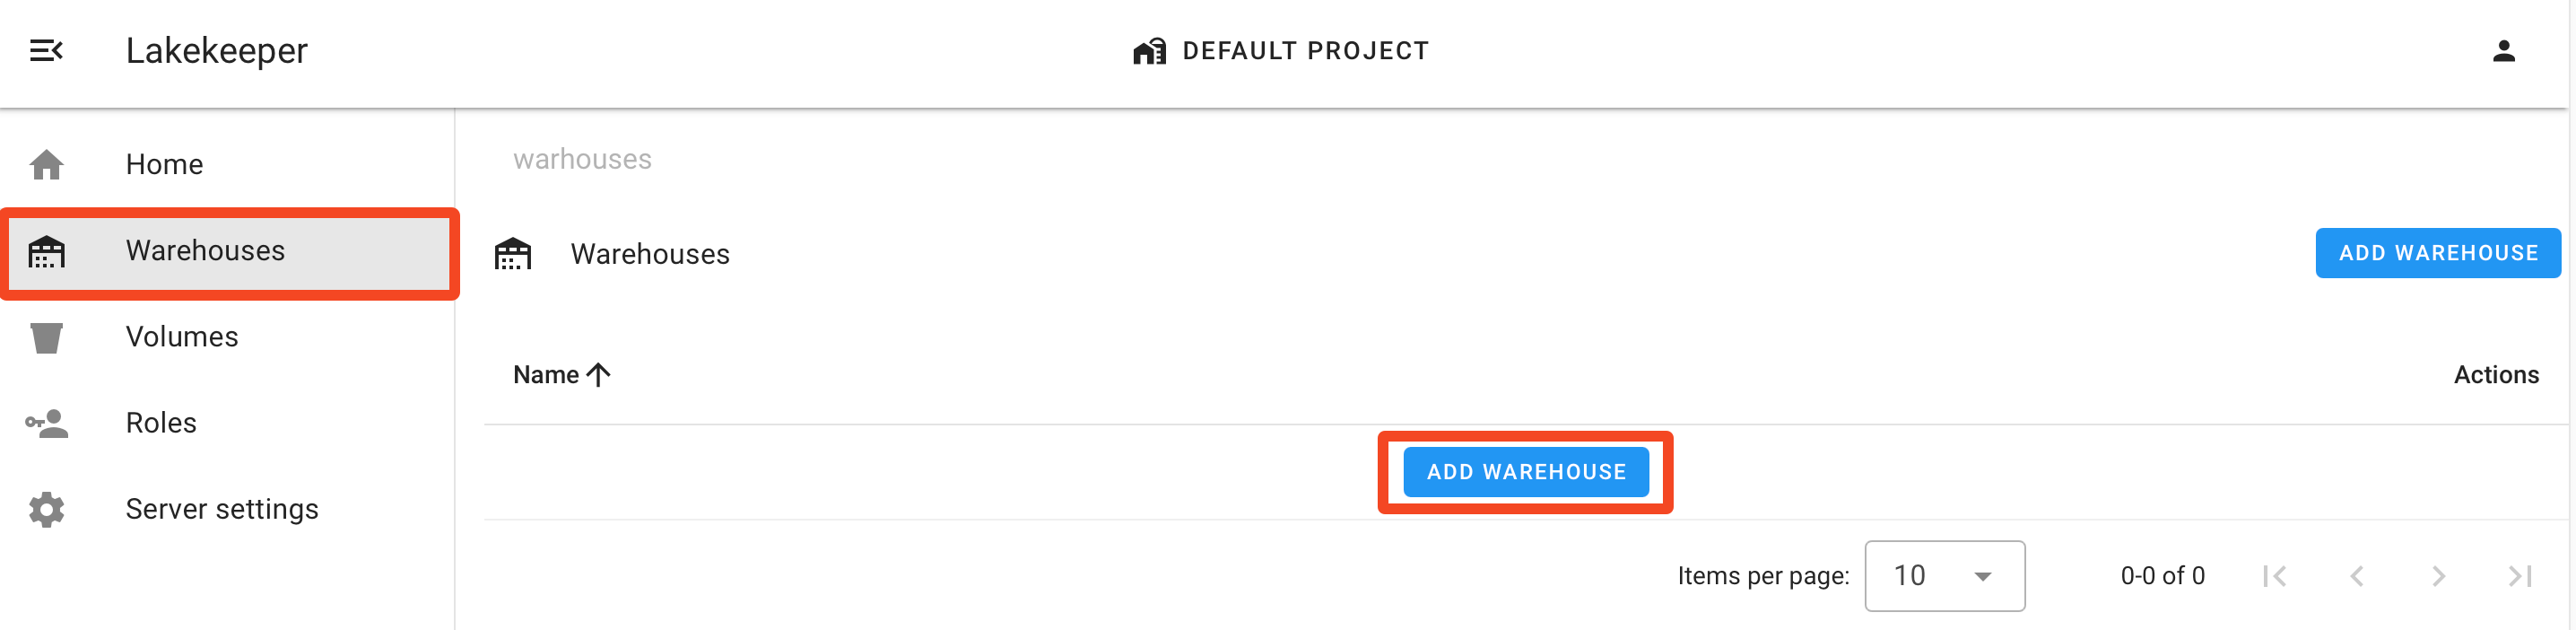
Creating a Warehouse
Now that the server is running, we need to create a new warehouse. We recommend to do this via the UI.
Alternatively, we can use the REST-API directly. For an S3 backed warehouse, create a file called create-warehouse-request.json:
{
  "warehouse-name": "my-warehouse",
  "storage-profile": {
    "type": "s3",
    "bucket": "my-example-bucket",
    "key-prefix": "optional/path/in/bucket",
    "region": "us-east-1",
    "sts-role-arn": "arn:aws:iam::....:role/....",
    "sts-enabled": true,
    "flavor": "aws"
  },
  "storage-credential": {
    "type": "s3",
    "credential-type": "access-key",
    "aws-access-key-id": "...",
    "aws-secret-access-key": "..."
  }
}
We now create a new Warehouse by POSTing the request to the management API:
curl -X POST http://localhost:8181/management/v1/warehouse -H "Content-Type: application/json" -d @create-warehouse-request.json
If you want to use a different storage backend, see the Storage Guide for example configurations.
Connect Compute
That's it - we can now use the catalog. The example below targets the unsecured deployment: it sends the literal token dummy because no Authentication is configured, so any bearer token is accepted. If you enabled Authentication, replace "dummy" with a real OAuth2 token (or configure your engine's OAuth2 flow) — see the Authentication Guide.
Tip
ICEBERG_VERSION below pins a known-good Iceberg release. Check Iceberg releases for the latest version.
import pandas as pd
import pyspark

SPARK_VERSION = pyspark.__version__
SPARK_MINOR_VERSION = '.'.join(SPARK_VERSION.split('.')[:2])
ICEBERG_VERSION = "1.10.1"

# if you use adls as storage backend, you need iceberg-azure instead of iceberg-aws-bundle
configuration = {
    "spark.jars.packages": f"org.apache.iceberg:iceberg-spark-runtime-{SPARK_MINOR_VERSION}_2.12:{ICEBERG_VERSION},org.apache.iceberg:iceberg-aws-bundle:{ICEBERG_VERSION},org.apache.iceberg:iceberg-azure-bundle:{ICEBERG_VERSION},org.apache.iceberg:iceberg-gcp-bundle:{ICEBERG_VERSION}",
    "spark.sql.extensions": "org.apache.iceberg.spark.extensions.IcebergSparkSessionExtensions",
    "spark.sql.defaultCatalog": "demo",
    "spark.sql.catalog.demo": "org.apache.iceberg.spark.SparkCatalog",
    "spark.sql.catalog.demo.catalog-impl": "org.apache.iceberg.rest.RESTCatalog",
    "spark.sql.catalog.demo.uri": "http://localhost:8181/catalog/",
    "spark.sql.catalog.demo.token": "dummy",  # unsecured deployment only; use a real token if Authentication is enabled
    "spark.sql.catalog.demo.warehouse": "my-warehouse",
}
spark_conf = pyspark.SparkConf()
for k, v in configuration.items():
    spark_conf = spark_conf.set(k, v)

spark = pyspark.sql.SparkSession.builder.config(conf=spark_conf).getOrCreate()

spark.sql("USE demo")

spark.sql("CREATE NAMESPACE IF NOT EXISTS my_namespace")
print(f"\n\nCurrently the following namespace exist:")
print(spark.sql("SHOW NAMESPACES").toPandas())
print("\n\n")

sdf = spark.createDataFrame(
    pd.DataFrame(
        [[1, 1.2, "foo"], [2, 2.2, "bar"]], columns=["my_ints", "my_floats", "strings"]
    )
)

spark.sql("DROP TABLE IF EXISTS demo.my_namespace.my_table")
spark.sql(
    "CREATE TABLE demo.my_namespace.my_table (my_ints INT, my_floats DOUBLE, strings STRING) USING iceberg"
)
sdf.writeTo("demo.my_namespace.my_table").append()
spark.table("demo.my_namespace.my_table").show()